Since I managed to play every Blacksmith model in at least a single game, I can now give a litte bit of first thoughts. First, we are going to look at the card and then see if that master makes a good captain.
Anvil
")
TheMaster of the Blacksmiths
Anvil is the Master Blacksmith and he is a Master that really screams “fighting” in your face. Momentous Knockdown on 1 is always a fantastic result to have, while his “Singled out” is a bit far down the playbook on 3. Other than that, he can push you around a lot and can speed up or control the scrum a bit with his “while the iron is hot” play, which can also be triggered through 3 hits. With 2/3 and Tough hide he is pretty hard to take down. Sentinel is a very good Trait if you want to fight, and he can give himself an additional TAC.
His downsides are a 1″ Melee with a slow speed, and his low Defense makes him very vulnerable to character plays or models with a high enough TAC to go through his armor. He is also the only Master with a playbook as long as his TAC, not one coloumn shorter. Like all Masters, his Playbook doesn’t feature a lot of damage.
Overall, I like the big, beardy dude. He is often seen to be the one master to cut from the 10 and I can see the reasons for it. It is pretty obvious to both you and your opponent what he is going to do and that gives your opponent time to throw a wrench in your plan. On the other hand, he usually singles out a model that has already activated for me and then this model can’t do much to get away.
Anvil as a captain
As a captain, Anvil can get 5 INF and his Legendary gives Tough Hide to Models within 6″. He doesn’t really need more INF, so it would only be for his Legendary to make him captain. Giving everyone Tough Hide can delay takeouts, but it means that Anvil wants to be first in a turn to pop his legendary, which means that the model he singles out would have a good chance of getting away. Therefore, I don’t really see him as a captain choice.
Furnace
The Guy with the molten Swords. His model is awesome, but how are his rules? Well, he does bring Tooled up to the table, which is always good in a list that wants to go for some takeouts. His “one at a time, Lads” AOE is one the best Character plays, giving everyone in it the Rowdy-Rule, essentially. It is free, and you can place the AOE in 6″, which means that you can force opponents already in combat to advance first to get additional dice, or use your TAC even when crowded out. Searing Strike is also awesome in a fighting list, since it is -1 ARM in addition to setting people on fire, and against non tough-Hide models, he can apply it momentously on 1. He also features the Sentinel-Aura that Anvil has. His Legendary gets him up to a very annoying 3/3.
Ofcourse, he doesn’t really do a lot of Damage, like all Masters and he does have a mediocre MOV, but at least he has a 2″ Melee Zone. Fire Forged is situational, but can be good.
Furnace is awesome! He is pretty mandatory in a fighting list due to Tooled up, and “One at a Time Lads” can be brilliant. Him also being able to apply -1 ARM helps fighting lists tremendously, while he can also score a sneaky goal or get the ball to safety with a Tackle on 1 and a 3/8 kick.
Furnace as a captain
Furnace as captain is underrated. Almost no one looks at this fella. Well, I hear you say, he doesn’t need the additional 2 INF and I will concede that point. The part where his Legendary gives everyone Searing Strike is the interesting part, though. This means that suddenly every Damage result is -1 ARM to the enemy, and Alloy can apply -1 DEF, -1 ARM, Poison and Burning with one Dirty Knives. Also, Cast can get her +1 Damage after she attacks once, if the opponent cleared conditions before she activated. I can pretty much say that Furnace is going to be my go-to captain in a melee-fighting list.
Ferrite
Ferrite is the fastest Master of the first box due to Acrobatics. Her Momentous Guild ball on 1 letting her choose between “Weak Point” and “Disarm” is fantastic, as is a Momentous Tackle and a non-Momentous Double Dodge on 2- She has a great kick-stat and she can slow down other people if she damages them. She also can make Iron Dodge, with can make him faster or get him out of sticky situations. Her legendary makes her faster which gives her another 2″ of Goal threat. She is awesome at getting the ball and scoring.
Downsides of Ferrite are her 1″ melee and she struggles to apply Hobble to Tough hide models, if she wants to, since she needs 4 hits with her TAC 5 on that.
I am a bit torn on Ferrite. She is a Master that is not just supporting the game, like many others, but she can score goals on herself or take low TAC models pretty much out of the game. She is good for sure and I will test her further, but I might do the thing most people would probably call me crazy for: Cut her out of the 10.
Ferrite as a captain
If you play Ferrite, she should be the captain. She really likes having 5 INF to start a goal run or just throw around Weak points and Disarms. Her Legendary is the only one that is a Pulse, so you can apply it and go do her thing with her. Her Legendary is also the only on that applies 2 bonuses to the other models, +2/+2 MOV and Hobble. She seems to be the best Captain for a full on Football-Team and she will continue to be that as long as she remains in the 10.
Hearth
The old lady brings a lot of Match Experience, which in return means lots of dodging around when passing. She also brings that marvelous Momentous Knockdown on 1, but other than Anvil, on a 2″(3″ under Legendary) Melee. She can throw a sword to another model, to grant him 2″ melee and she can grant +2 net hits to an Apprentice’s first attack, both for 1 INF. Sturdy gives her good chances on getting counter-attacks off, which she has a decent one with KD on 1 and a push on 2.
Her downsides include her low MOV, but it is mitigated by her character plays being 6″ Range. 2/2 is the worst Master defensive statline, but we’ll give her a break, she is so old that she either had to get rid of some of her armor or lost some of her nimbleness.
Hearth might be the best Master Blacksmiths have. Her Character plays, Match experience and the Knockdown on 1 are all awesome and I can’t really see myself not putting her in my 6, which is also due to her apprentice, whom we will analyze in another post.
Hearth as a captain
Hearth doesn’t really need the 5 INF, unless you have loads of people around to Knockdown. Her Legendary gives everyone a 2″ Melee, though, and that is a bag of awesome. Her Legendary also doesn’t mess with her activation order, since she usually wants to go pretty early for instruction anyways, and then she can give out her candies of 2″ Melee, too. Since both fighting and football teams like 2″ Melee, I can see her in both kind of teams. I didn’t play her as captain yet, but I will test that out soon.
Burnish
Burnish brings us a free condition removal for the price of burning the models, a 3 DMG not-OPT Flame AOE and “kill the Ball” means that no free Ball is safe. He brings Fire Forged, same as Furnace, which means that they can sometimes ignore the burning placed on them from Reduction. Being able to ignore Character Plays with Momentum rounds him out as a tech piece. His Legendary is usually just another Flame Belch.
Downsides include that he is kind of situational, but since we draft the teams in the OPD, this is mitigatable. He is very INF-Hungry with a meh playbook and not much Momentum generation from the INF he uses, additionally, he eats up Momentum with Reinforced Plating(although I guess that he won’t really use it often, but it will more act as a deterrent).
Burnish is a tech piece for me that I want to bring in if the opponent has either DEF 4 or less models with a low HP count, or if I need that Reduction or Reinforced Plating. Overall, he might see the table less than others, but when he is on the table, he shines.
Burnish as a captain
Burnish is the second model that I would pretty much always play as captain, if played. He really wants to spit out 2 Flame Belches a turn, 3 under Legendary and put down the hurt that way. Also, as he is a situational model against Character plays, giving everyone Reinforced Plating is very good against the likes of Siren, Theron and Smoke (I would like to list Obulus here too, but Rigor Mortis is a thing).
Farris
Last one of the Masters, Farris. She brings Quick Foot and Stagger, which as I played Shark before, are 2 familiar Character Plays. Many of the Blacksmiths really like some +2/+2 Movement, and Stagger on 2 with a TAC of 6 is pretty reliable. She can Sprint very far (I mean, she is on a Horse) and gets a free attack out of that, which is always good. Since she can move afterwards, there is a decent chance that you can swoop up a ball that scattered in her Legendary Turn. She can also, if she can’t quite reach the Ball, use “Give it a Whack”, to pass it to someone else, which can also be used to get some more distance on a pass, if she is not engaged. to round out her package, she also brings the beloved Sentinel Aura.
She only has a DEF of 2 and even with 3 ARM, she can go down surprisingly quick since she also lacks Tough Hide. Also, her Jog is only 5″.
Farris brings a good amount of options to the table. Stagger and Quick Foot are nice to have, and she can act as a kind of “Tarpit”. The Knockdown on 4 is scary with 8 dice, especially if you are Staggered and with her big base, she can engage very well, in addition to providing the Sentinel Aura. That means that both Football and Fighting Teams can get mileage out of her.
Farris as a captain
I don’t really like Farris as Captain. Give it a Whack is very situational, and giving it to other models isn’´t that awesome in my opinion. She can do a fair bit of stuff with INF, but I tend to let her have 1 or 2 and Sprint or Quick Foot someone and that is usually enough. Often, she is also content with having no influence, just standing in the way, providing Sentinel to others.
So, what do you think? Spot on? Did I miss something? Or am I completely off in my evaluations? Feel free to comment!


")
")
")
")
")
")
")
")
")
")
")
")


![[UNSET]](https://i0.wp.com/kickscatter.wordpress.com/wp-content/uploads/2018/02/unset.png?w=539&h=786&ssl=1 "[UNSET]")


")
")
")
")
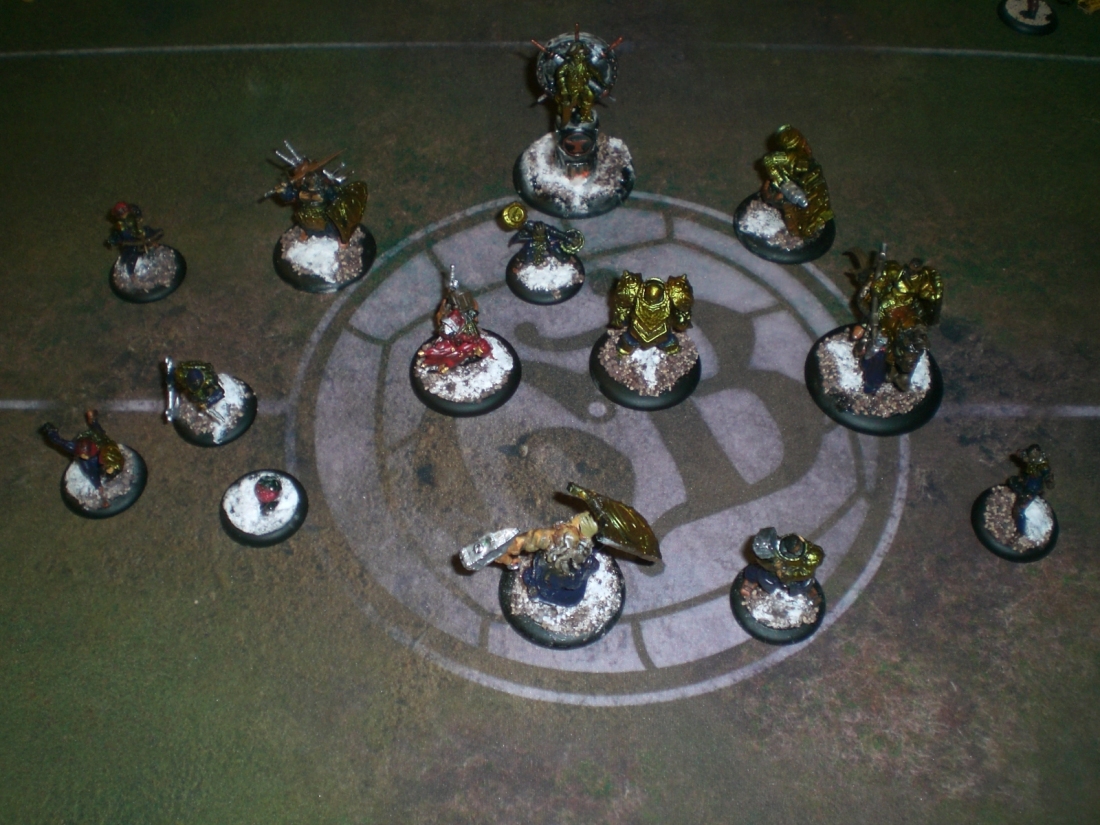


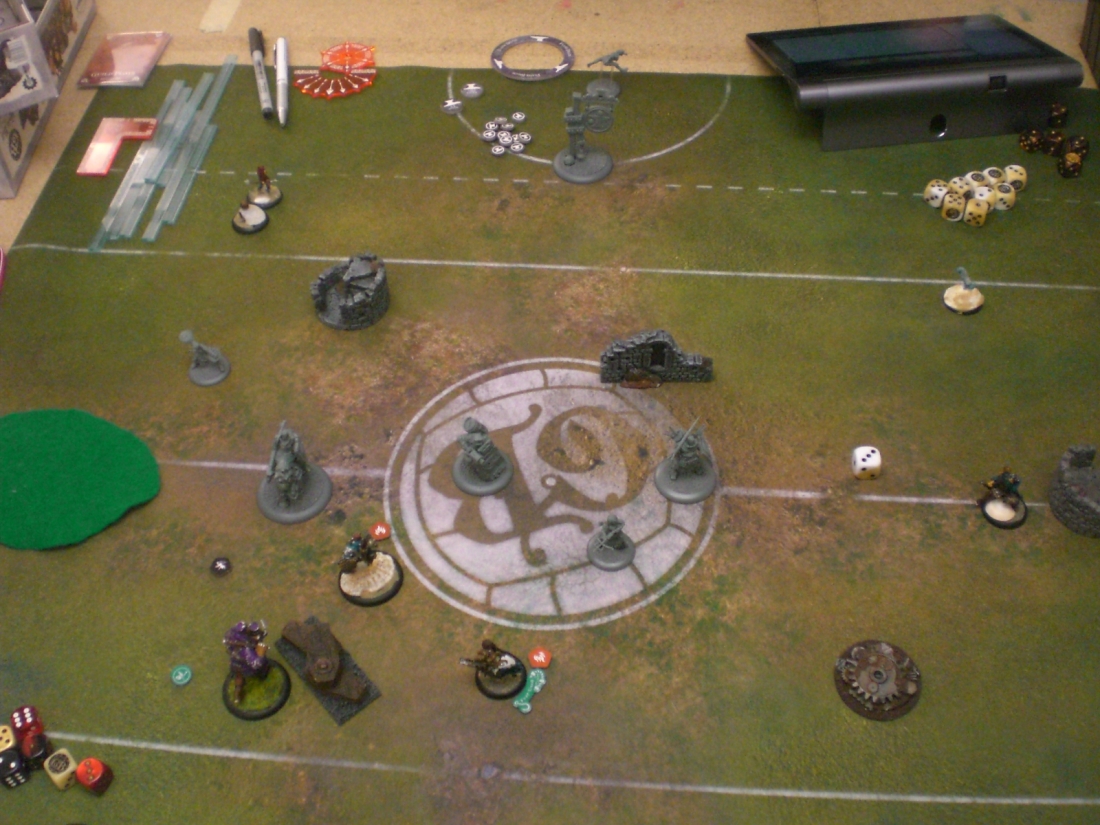
 Turn 4
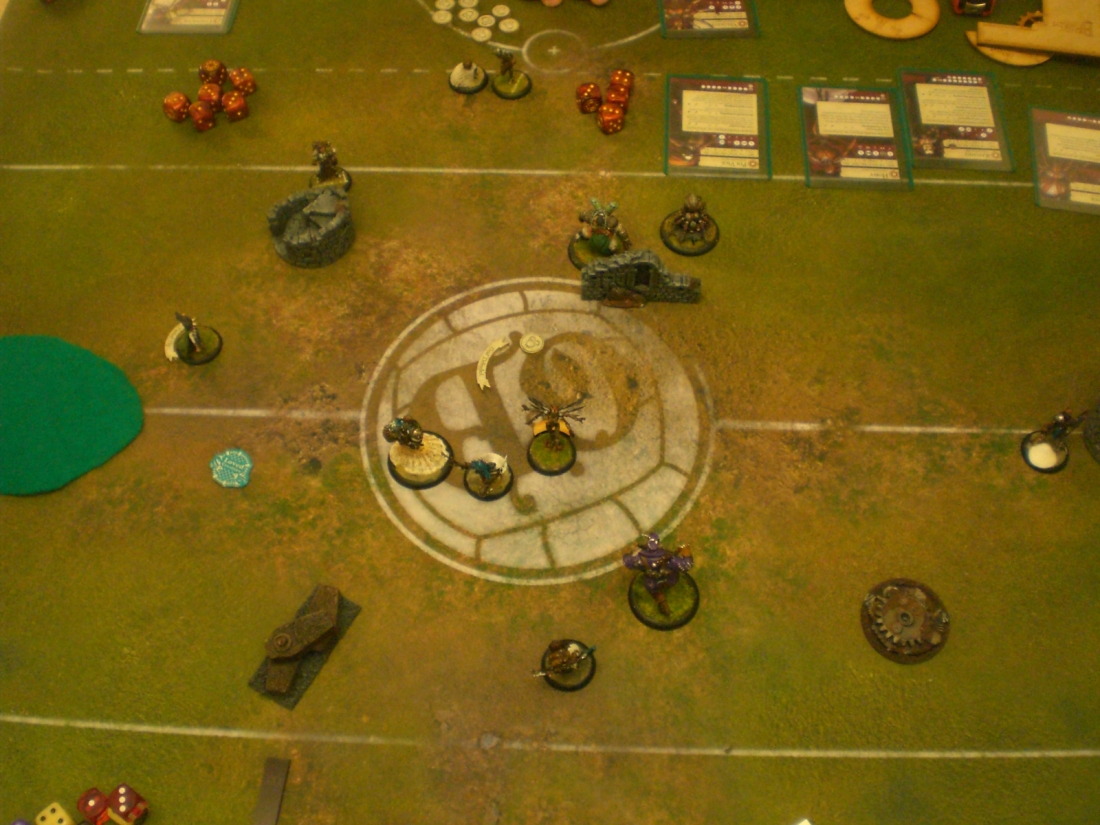
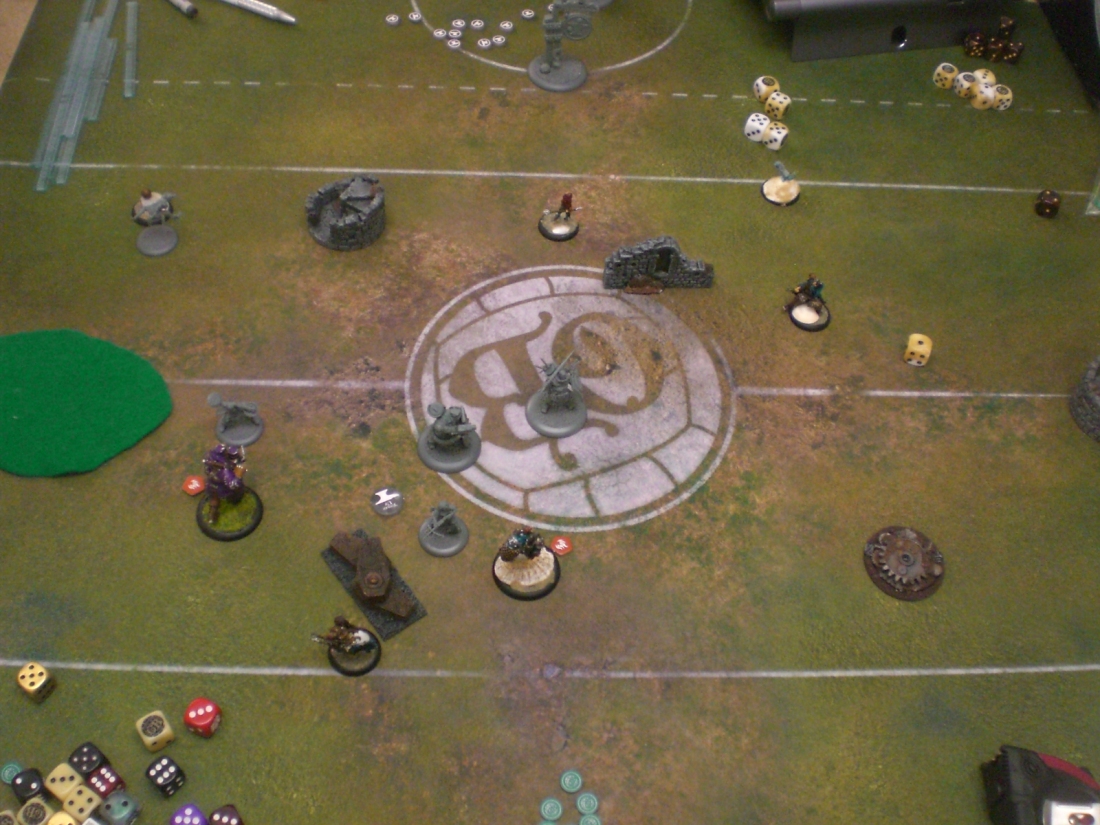